
How to Maximize Your Ultrasonic Anilox Cleaning Process
As Featured in May 2026 issue of Paper, Film & Foil Converter Magazine
The key to success is a consistent cleaning schedule.
As long as there is an anilox at the heart of the flexographic printing process, anilox performance will remain a critical variable that converters must control. When anilox cells are plugged with dried ink and resin, performance struggles. Ultrasonic cleaning is one of the most effective ways to restore performance, and smart converters know the tricks to optimize even further.
To maximize your ultrasonic system, you must understand how the cleaning process works and implement a disciplined, repeatable approach.
Start with the Right Process: Soak First, Then Ultrasonics
The biggest mistake in ultrasonic cleaning is relying too heavily on ultrasonics alone. In reality, ultrasonic anilox cleaning is a two-step process: soaking and ultrasonic activation.
Dried inks and resins can become extremely difficult to remove and soaking softens the buildup, allowing the ultrasonics to break through more efficiently and effectively.
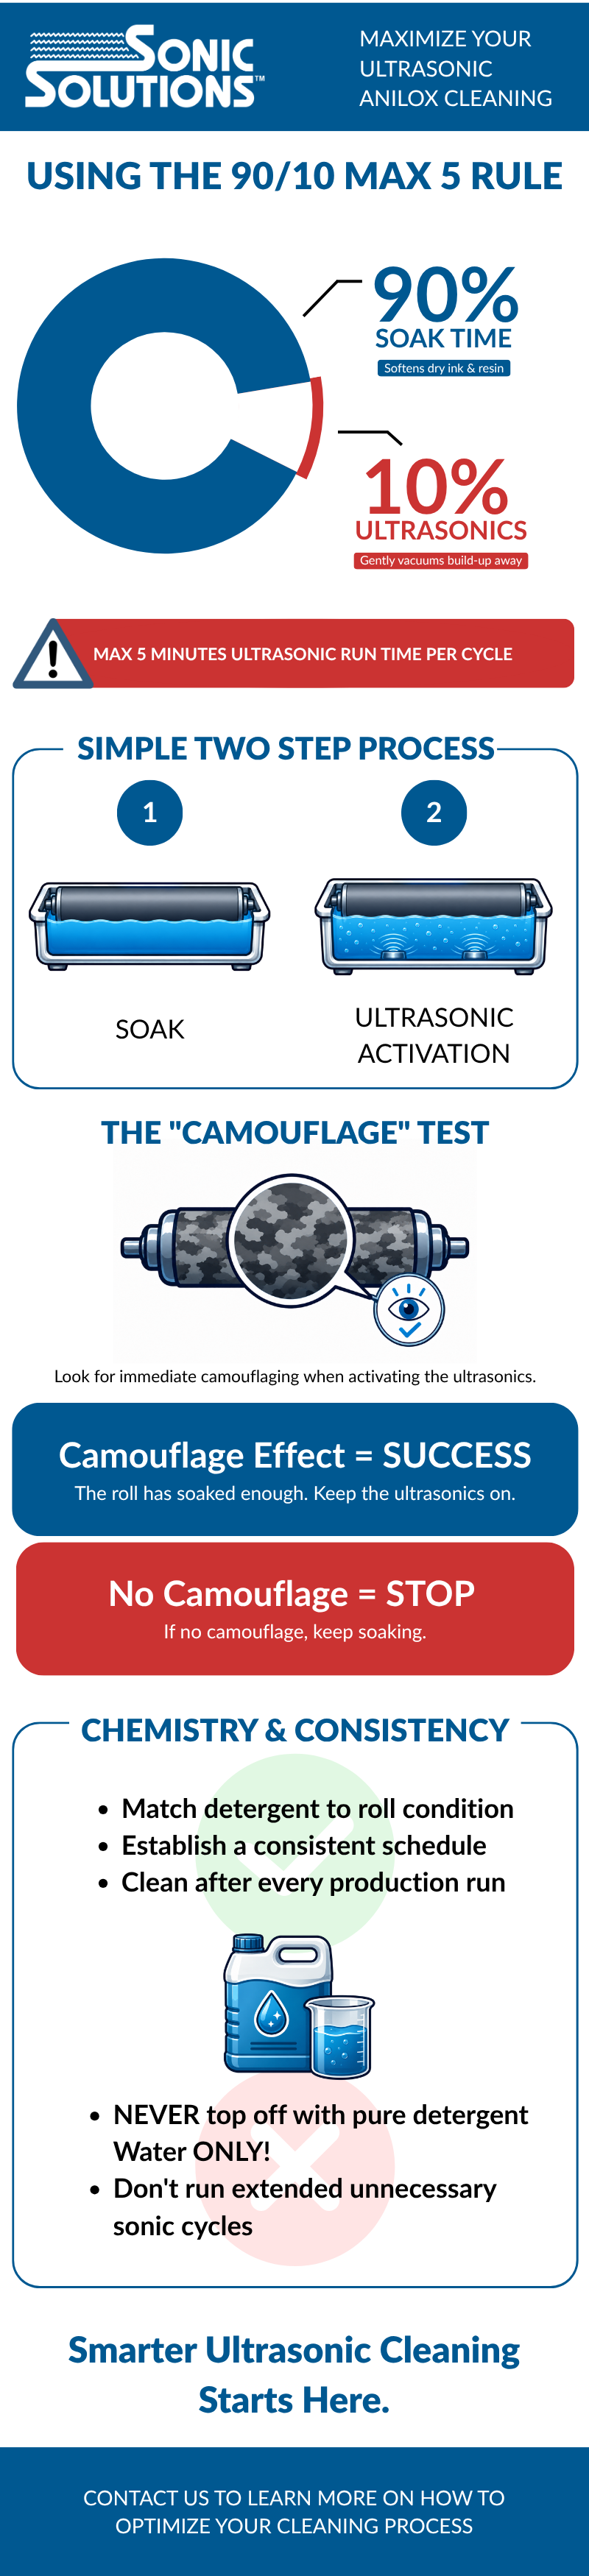
Sonic Solutions follows a simple principle, the “90/10 Max 5” rule: 90% soaking, 10% ultrasonics, with a maximum of five minutes ultrasonic runtime at a time.
An easy way to check if you’ve properly soaked the roll is to look for immediate “camouflaging” when you activate the ultrasonics. If none or little, it may need more soaking time.
Control Your Cycle Time and Technique
When it comes to ultrasonics, less is more; running extended cycles can be inefficient and unnecessary. Instead, turn on the ultrasonics in short, controlled intervals paired with proper soaking to deliver faster, more consistent results.
Best practices include:
Limit ultrasonic cycles to 5 minutes at a time
Use a cleaning block during ultrasonics to remove loosened debris
Rinse thoroughly after cleaning to remove any remaining ink or detergent residue
Monitor remaining dark areas which may need additional soaking and ultrasonics
When implemented correctly, first-time ultrasonic cleanings may take longer, but ongoing maintenance can be reduced to as little as 10–15 minutes per cycle.
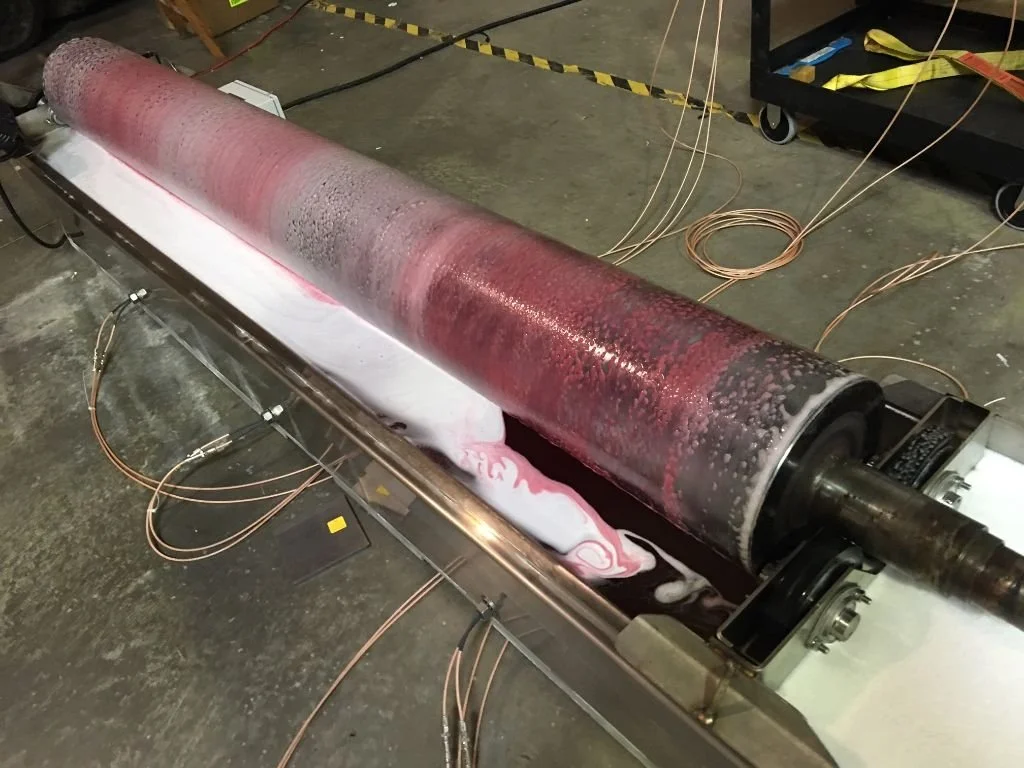
Turning on the ultrasonics in short, controlled intervals paired with proper soaking delivers faster, more consistent results.
Use the Right Cleaning Chemistry
Even the best process won’t deliver results without the right chemistry. Cleaning formulas play a critical role in effectively breaking down trapped inks, coatings and resins during the soaking phase.
The key is to match the detergent to the condition of the roll and maintain proper solution strength. Stronger solutions can reduce soak time, while lighter concentrations may require longer dwell time to fully soften buildup.
After the initial tank fills, you should only top off with water as it evaporates. Do not add more detergent each time.
The result is a safer, more precise clean that restores volume and extends roll life.
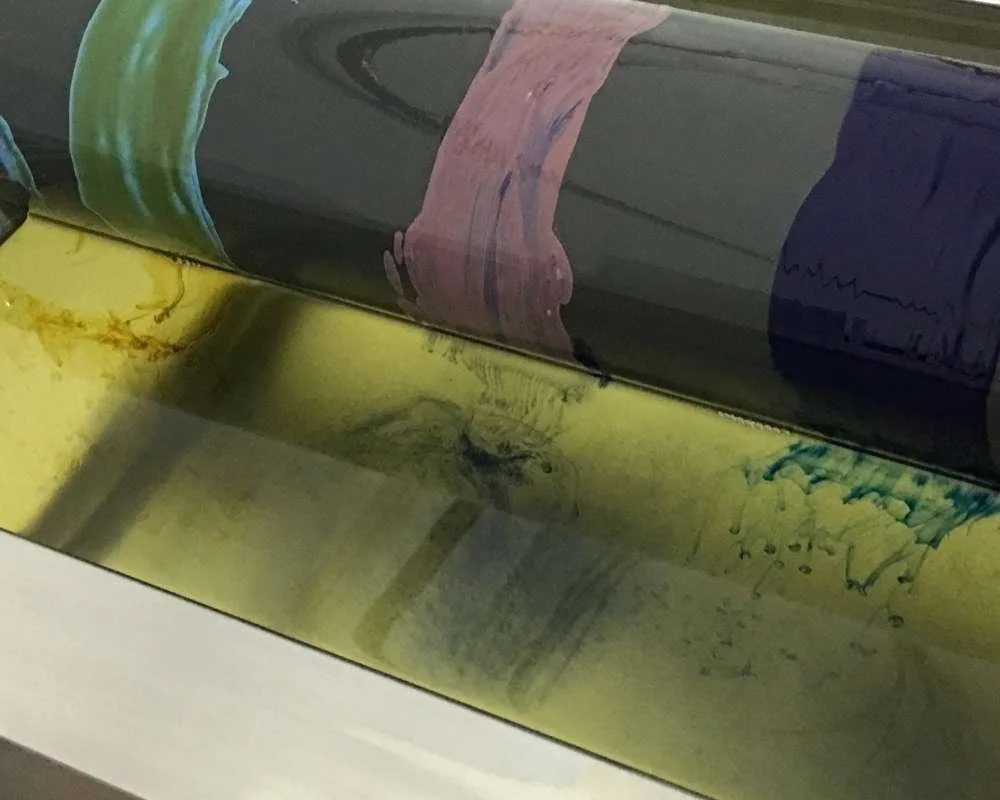
The key is to match the detergent to the condition of the roll and maintain proper solution strength.
Build a Consistent Cleaning Program
Maximizing your ultrasonic process ultimately comes down to consistency. The most successful converters establish a consistent cleaning schedule based on production schedules, performance thresholds, and routine quality checks. Whether cleaning after every run or at defined intervals, consistency ensures your rolls never fall behind, and neither do your operations.
Ultrasonic cleaning, done right, can make sure you get a positive ROI out of your best assets.